How to Install Plugins in Strapi
Strapi is built around different types of plugins. Every default Strapi application comes with some pre-installed plugins. Strapi users can also install additional plugins to extend and customize your Strapi applications. This guide will show you how to install a plugin in Strapi.
1. Log in to Strapi Admin Panel
Follow the guide to log in to your Strapi admin panel and view your current plugins.
Then, go to the Marketplace to select the plugin you'd like to install and copy the install command of the plugin. We will install the Documentation plugin as an example.

2. Install plugins using SSH
Log in to Cloud Clusters client panel and initiate an SSH session.
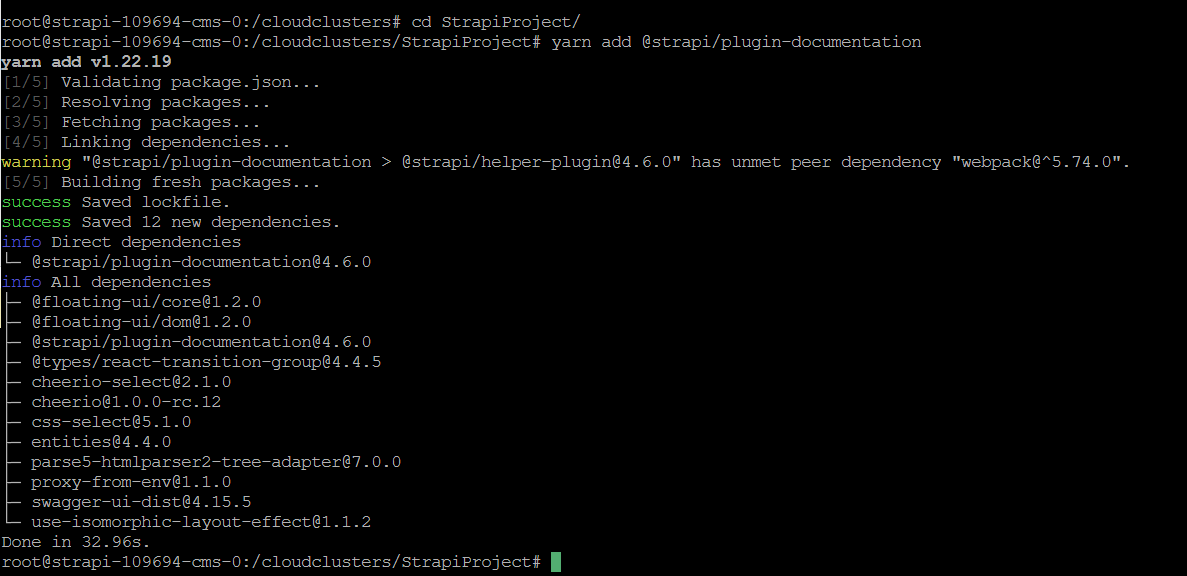
Go to the StrapiProject directory and run the install command.
root@strapi-109694-cms-0:/cloudclusters# cd StrapiProject/
root@strapi-109694-cms-0:/cloudclusters/StrapiProject# yarn add @strapi/plugin-documentation

Run Strapi build after the plugin installation to add the plugin to your Strapi Admin Panel.
root@strapi-109694-cms-0:/cloudclusters/StrapiProject# strapi build

Reload the service to make changes effective
root@strapi-109694-cms-0:/cloudclusters/StrapiProject# supervisorctl reload

3. Verify the installation
Refresh the Strapi admin panel. If the plugin has been installed successfully, it should be on the plugin list.
